Contest Winner - Amazing Arduino Projects from MROsupply customer that Will Blow Your Mind
MRO Customer Submission Series
Do you have an interesting personal or work project you would like to share? We are offering Amazon Gift Cards to those who's submissions get approved for our blog. Fill out the form HERE to submit your info and get considered.
Instructions:
1 - Go to form here
2 - Enter basic info about your project, pictures
3 - Wait for an email response, with some follow up questions
--- If your submission is chosen for our blog, we will provide you with a $100 Amazon Gift Card
------------------------------
My name is Vasilaki Gorgioski and I am a home hobbyist. Below are some of my projects
 What is Arduino?
Arduino devices mainly use two key components: the Arduino programming language based on wiring and Arduino software based on processing. Using this simplified design, Arduino boards can be utilized to read inputs such as a finger on a button, twitter message, and light on a sensor. Then, they can turn these inputs into outputs that can turn on LED, activate motors, or even publish an item online.
My fascination with Arduino was driven by the desire to craft new projects that can help address real-life challenges. Here are some of them and how they work.
A Morse Code Blinker
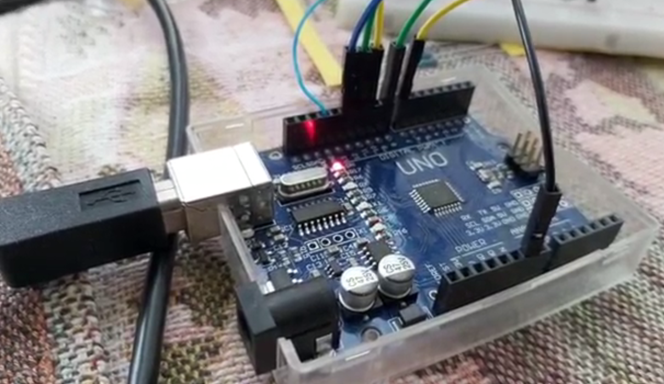 The first project I worked on was a unique Morse Code Blinker with an Arduino Uno. Using a built-in LED, I researched the Morse code on the internet resources such as Wikipedia to get started with this project.
Morse Code Blinker was perhaps the greatest invention in the history of information communication technology. It signaled the first moment when complex thoughts could be sent long distances without meeting face-to-face. It was the basic mechanics behind the operation of a telegram. However, the operations of the original Morse Code Blinker were very complex. This is why I set out to simplify the system.
After researching on the entire program, spaces, lines, and dots, I set off to program a new system. Working for three hours, I programmed my Morse Code Blinker which is 600 lines long. When I type something on the serial command window, my Morse Code Blinker starts blinking what I wrote correctly.

An Automation Prototype for Wood Counting Machine
This was the second project I worked on based on the success of the first one, Morse Code Blinker. I was prompted to work on this prototype for my uncle to help him with wood forming and counting. Initially, my uncle used to spend about 400 minutes for about 10,000 pieces. Therefore, I worked with him to craft on a counter that operates based on Arduino Nano with sensors.
 I also used an improvised laser, photo resistor, LCD, and two LEDs. Besides, for the first time, I used an external board to solder everything together. Here is how it works:
-
The photoresistor and laser act as the ‘photogate’ for the prototype.
-
When a piece of wood breaks the laser beam, the counter adds one to its memory.
-
Then, the prototype has one green light that indicates the entire system is working.
-
The red light, on the other hand, indicates that wood is being detected.
-
The moment the laser beam is interrupted, the LED turns on.
The project has been very successful and my uncle is very happy using it every day!
A Traffic Light!
Now that I am on Holiday in a small town with no traffic lamps, my nephew noted a wooden one. How does that work? She asked. This is how I got the idea of creating an Arduino traffic light.
I picked three different LEDs; one SMD RGB LED, another RGB LED, and last basic red LED. The basic LED is for the red light on the traffic lights, the RGB LED for green, and SMD RGB for yellow. Note that the best color mixing to get yellow requires mixing red and green. Then, I arranged the LEDs on a wooden plate with three holes and connected them to an Arduino Uno.
I programmed the lamps so that green turns on for 18 seconds, before starting to blink for two seconds. Then, the yellow blinks for only three seconds and the red one goes off for 18 seconds and blinks for two seconds before going back to yellow. Then, the cycle begins.
This is my latest project and I like it so much because of the interesting back-history.
Conclusion
By
Since I started working on Arduino projects, I find them fascinating because they can help to solve real-life problems. The above projects are just the beginning. I plan to move on to other projects including making electric drums.